Ultimate Guide To How Long Does It Take To Put On A Roof NZ
Welcome to our in-depth guide on the intricacies of roofing in New Zealand, where embarking on a roofing project often feels like navigating through uncharted waters for many homeowners. Understanding the timeline for such a significant home improvement is crucial, not just for marking dates on a calendar, but for planning life around the renovation and managing expectations. This guide aims to shed light on the various factors that influence the duration of roofing projects, from the choice of materials to the impact of weather conditions, as every aspect plays a crucial role in the overall timeline. Whether you’re preparing for a renovation or embarking on a new build, this article is designed to provide you with a comprehensive understanding of what to expect and how to prepare for your roofing project. So, grab a cup of tea, and let’s dive into the world of roofing.
The duration of a roofing project in New Zealand typically ranges from a few days to several weeks, influenced by factors such as the roof’s size and complexity, the materials used, and prevailing weather conditions. The process generally involves selecting suitable materials, site preparation, and the installation itself. Ensuring a smooth project requires choosing a reputable contractor, understanding necessary permits, and planning for potential weather-related delays.
The Basics Of Roofing In New Zealand
New Zealand’s unique climate and aesthetic preferences influence the choice of roofing materials and methods. In this section, we’ll explore the popular roofing materials in NZ and provide an overview of the roofing process, ensuring you’re well-equipped with the knowledge to make informed decisions about your roofing project.
Overview of Common Roofing Materials in NZ
When considering a roofing project in New Zealand, the choice of material is paramount. The selection process is influenced by factors such as durability, cost, appearance, and the local climate. Here are some of the most popular roofing materials in NZ:
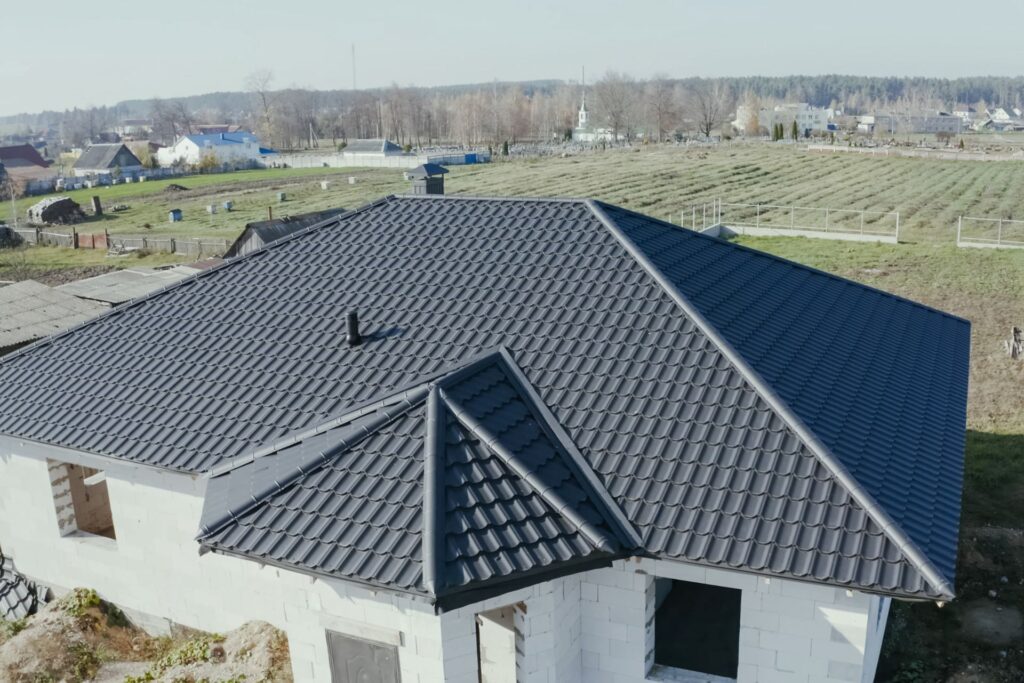
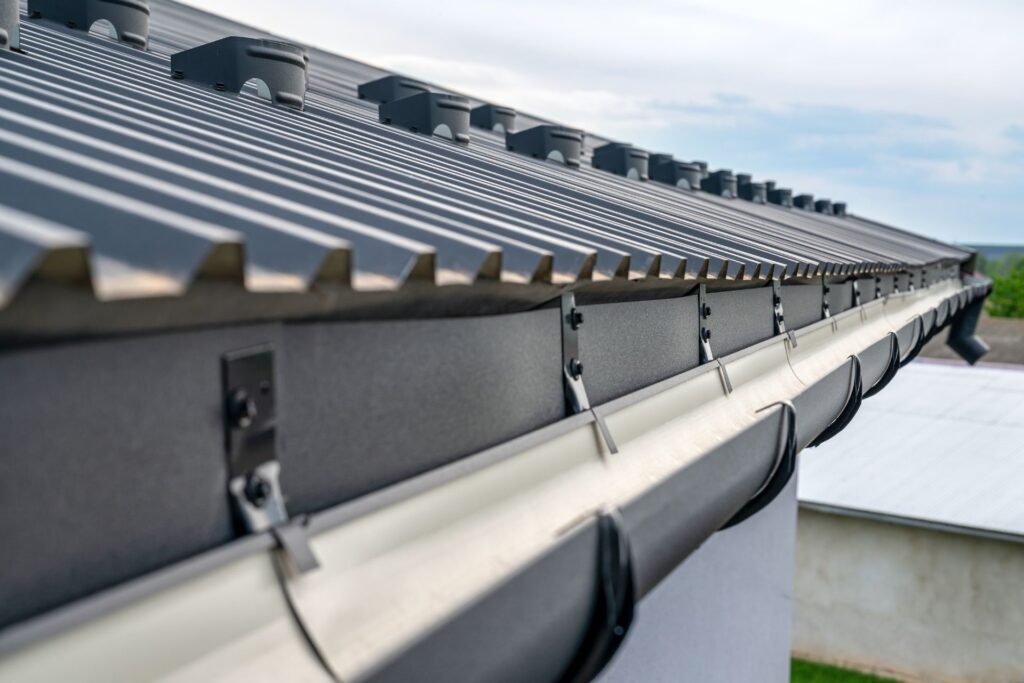
Long-Run Steel: Favoured for its durability, versatility, and ease of installation, long-run steel is a staple in both residential and commercial roofing in New Zealand. Typically available in a variety of colors and finishes, it can suit a wide range of architectural styles. Installation times vary, but most projects can be completed swiftly due to the material’s lightweight and the efficiency of the installation process.
Tiles: Roofing tiles, whether made from concrete or clay, offer a timeless appeal with a variety of shapes, colors, and finishes. They are known for their longevity and resistance to harsh weather conditions. The installation of tiled roofs tends to be more labor-intensive and time-consuming compared to long-run steel, reflecting in the project timelines.
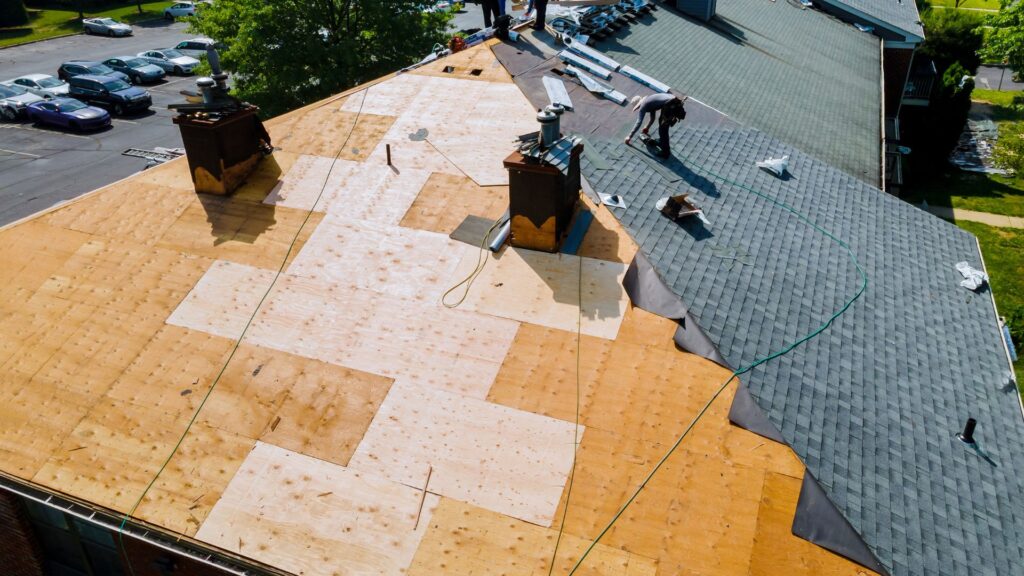
Shingles: Wood and asphalt shingles are chosen for their aesthetic appeal, blending well with natural surroundings and various architectural designs. Shingles can offer a distinct look but may require more maintenance and can have a shorter lifespan than other materials. The installation time for shingle roofing is comparable to that of tiles, depending on the complexity and size of the roof.
Understanding the Roofing Process
Roofing is not just about choosing the right material; it’s a comprehensive process that demands careful planning and execution. Here’s a simplified outline of the roofing process from planning to completion:
1. Planning and Assessment: The first step involves assessing the current condition of the roof, determining the scope of the project, and selecting the appropriate roofing material. This stage may also include obtaining any necessary permits and deciding on a budget.
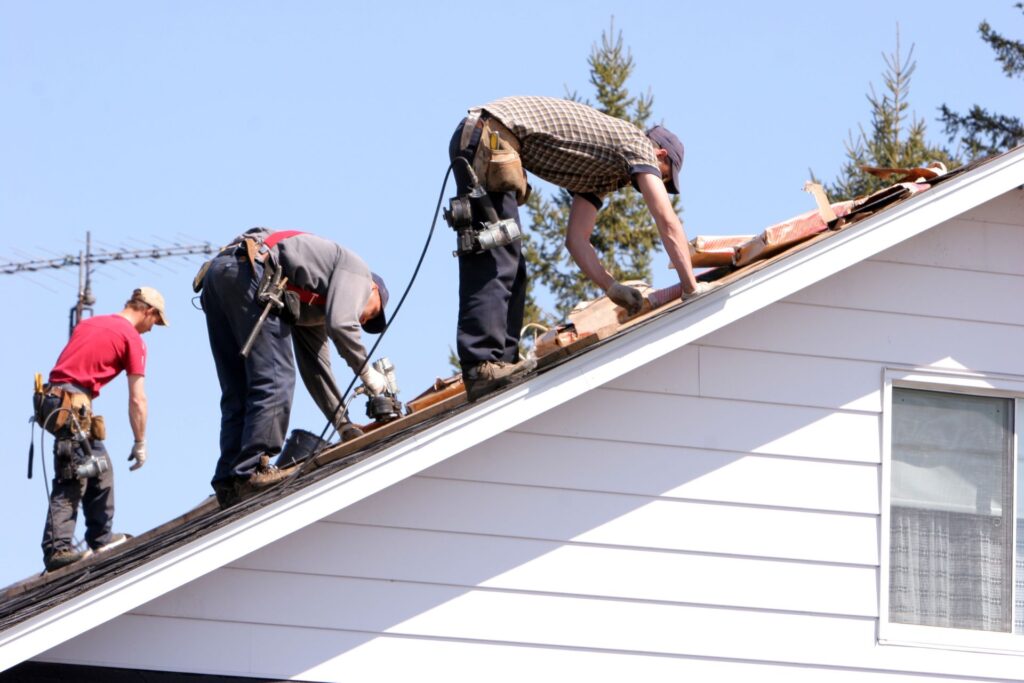
2. Preparation: Before the actual roofing can begin, the site needs to be prepared. This may involve removing the old roofing material, repairing any structural damage, and setting up scaffolding for easy access.
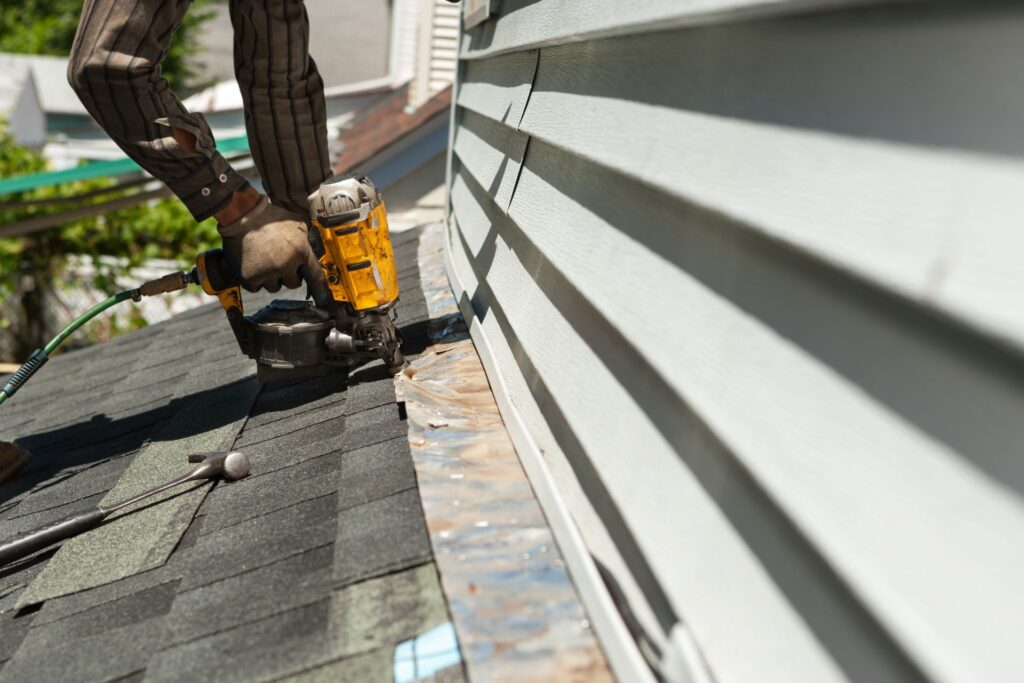
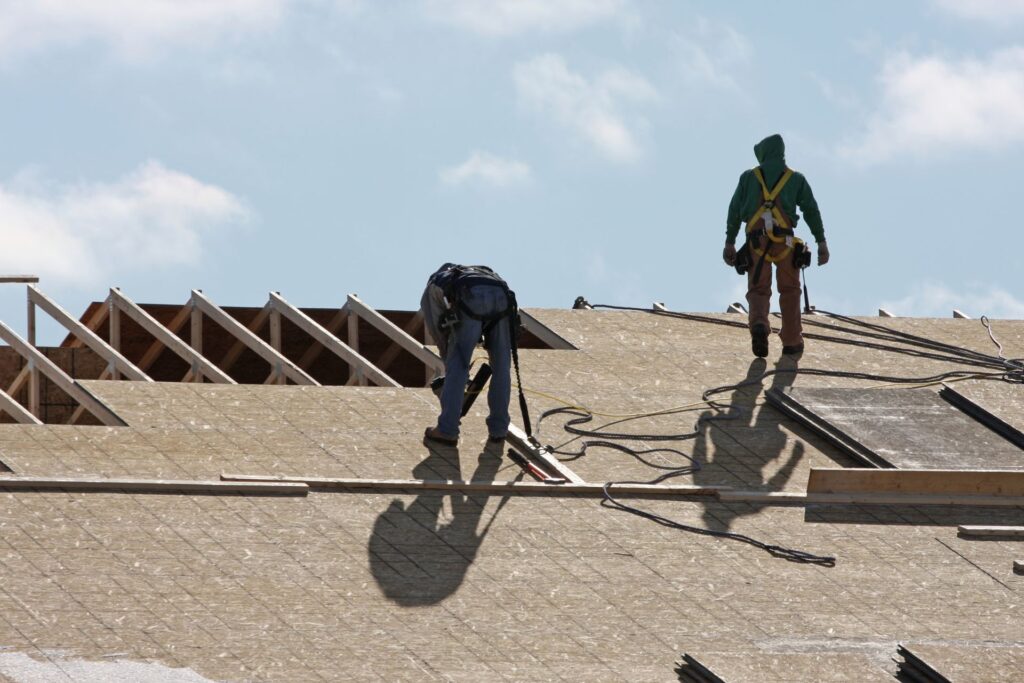
3. Installation: This is the core phase where the chosen roofing material is installed. The process varies significantly depending on the material, but it generally includes laying down underlayment, installing the primary roofing material, and fitting additional components like flashing and gutters.
4. Inspection and Completion: After the installation, a thorough inspection is conducted to ensure the quality and integrity of the roofing. Any necessary adjustments are made before the project is declared complete.
Understanding the basics of roofing materials and the process in New Zealand is crucial for anyone looking to undertake a roofing project. By considering the factors outlined above, homeowners can make informed decisions that ensure the longevity and performance of their roofs, contributing to the beauty and safety of their homes.
Factors That Affect Roofing Time In NZ
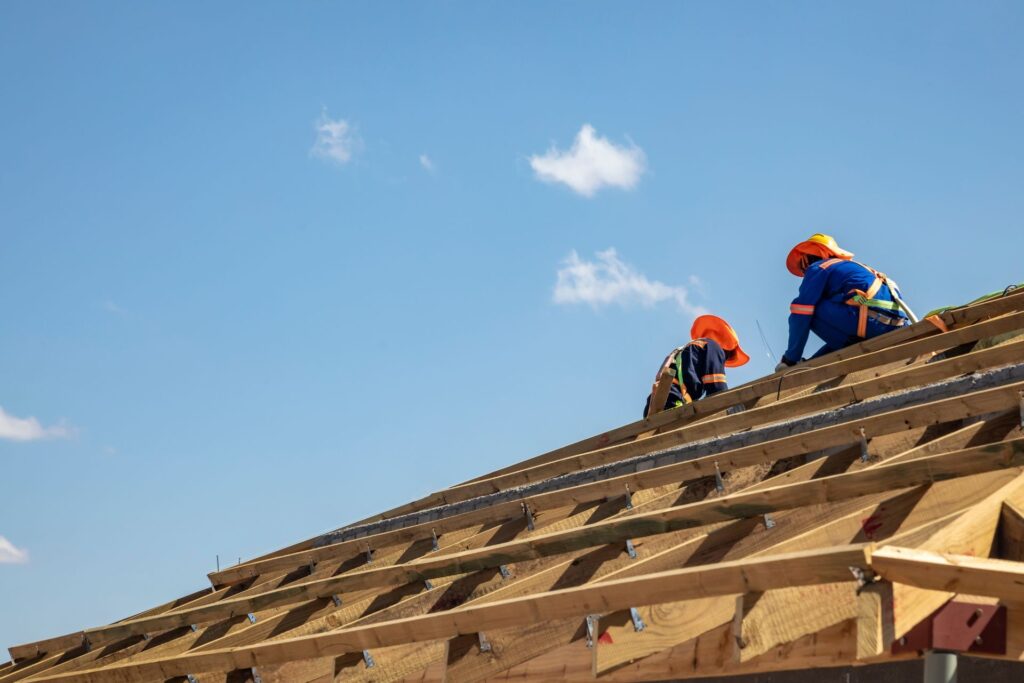
When it comes to roofing projects in New Zealand, several key factors can influence the timeline from start to finish. Whether you’re planning a new build or gearing up for renovations, understanding these elements can help set realistic expectations and smooth out the process. Here’s a closer look at what to consider.
Weather and Seasonal Impacts
New Zealand’s diverse climate plays a significant role in roofing schedules. The country’s geographical spread from the subtropical North down to the temperate South means weather conditions can vary dramatically, affecting when and how roofing projects can proceed.
In the North, the warmer, wetter conditions might mean that roofing projects can continue year-round, albeit with occasional delays during the peak of the rainy season. Conversely, the colder regions in the South face challenges such as frost and snow, which can halt outdoor construction work entirely during the winter months.
Moreover, spring and autumn can bring unpredictable weather patterns, with sudden rainfalls potentially disrupting work. Planning roofing projects around these seasonal nuances is crucial for minimizing delays and ensuring a smooth workflow.
Roof Size and Complexity
The size and design complexity of a roof significantly impact the project timeline. Simple, flat roofs on small buildings can be completed relatively quickly, often within a few days. However, larger roofs or those with multiple slopes, angles, and features like skylights or chimneys require more time and precision.
Complex designs necessitate careful planning and execution, as each angle or feature can add layers of difficulty. Not only does this demand more labor, but it also requires meticulous attention to detail to ensure water tightness and structural integrity. As a result, the more complex the roof, the longer the project will likely take.
Material Availability and Delivery
The choice of roofing material not only affects the appearance and durability of the roof but also the timeline of the project. Common materials like asphalt shingles and corrugated iron are readily available and can be delivered relatively quickly. On the other hand, specialized materials such as slate tiles or high-end metal products may need to be ordered in advance, potentially introducing delays.
Furthermore, the availability of materials can fluctuate due to factors like global supply chain issues or local stock shortages. Delays in material delivery can push back the start date of the project and extend the overall timeline. It’s important for homeowners and contractors to communicate effectively and plan for potential delays when selecting materials.

Preparing For Your Roofing Project
Embarking on a roofing project is no small feat, and understanding the ins and outs can significantly impact the success of your endeavor. In New Zealand, like anywhere, preparation is key. This section delves into the crucial steps of preparing for your roofing project, ensuring you’re well-equipped to navigate the process with confidence.
Choosing the Right Contractor
The cornerstone of a successful roofing project is finding a contractor you can trust. This decision will influence not only the quality of the work but also the overall experience. Here are some tips to help you select a reliable roofing contractor in New Zealand:
Research: Start by gathering a list of potential contractors. Check online reviews, ask for recommendations from friends and family, and explore local business directories.
Credentials: Ensure the contractors are licensed and insured. This protects you in case of any accidents or damages during the project.
Experience: Look for contractors with extensive experience, especially with projects similar to yours. Experience often translates to better problem-solving skills and craftsmanship.
Quotes: Obtain detailed quotes from several contractors. This will give you a better understanding of the cost and scope of your project.
Questions: Prepare a list of questions to ask potential contractors. Some key questions include:
- How long have you been in business?
- Can you provide references from past projects?
- What warranties do you offer?
- How do you handle unforeseen issues?
Choosing the right contractor is about diligence and feeling comfortable with your decision. Trust your instincts; if something feels off, it might be worth considering other options.
Necessary Permits and Regulations
Before starting your roofing project, it’s essential to understand the local building codes and permit requirements in New Zealand. Permits ensure that your project adheres to national and local safety standards, protecting your investment in the long run. Here’s an overview of what you need to know:
Building Consent: Most roofing projects require building consent from your local council. This is especially true for structural changes or significant repairs.
Regulations: Familiarize yourself with the New Zealand Building Code, which outlines the standards for construction and building materials.
Application Process: Applying for permits can be complex. Your roofing contractor can often assist with this process, leveraging their experience and knowledge of local requirements.
Inspections: Expect inspections at various stages of the project to ensure compliance with the building code and permit conditions.
Navigating permits and regulations can be daunting, but compliance is crucial for the safety and legality of your project.
Setting Realistic Timelines
A critical aspect of your roofing project’s success is setting realistic timelines. This involves understanding the scope of work and coordinating with your contractor to establish achievable deadlines. Consider the following:
1. Scope of Work: A clear understanding of the project’s scope helps in setting a realistic timeline. More extensive or complex projects will naturally take longer.
2. Weather Conditions: Weather can significantly impact roofing projects. Plan for potential delays, especially during seasons known for unpredictable weather.
3. Material Availability: Supply chain issues can affect the availability of materials, potentially delaying your project. Discuss with your contractor how this might impact the timeline.
4. Communication: Regular communication with your contractor is vital. Stay informed about the project’s progress and any factors that might lead to adjustments in the timeline.
Setting realistic timelines requires flexibility and understanding from both you and your contractor. By planning and maintaining open lines of communication, you can manage expectations and navigate any challenges that arise.
Preparing for your roofing project in New Zealand involves careful consideration of several factors. By choosing the right contractor, understanding the necessary permits and regulations, and setting realistic timelines, you can ensure a smooth and successful project. Remember, preparation is the foundation of any successful construction endeavor.
The Installation Process Detailed
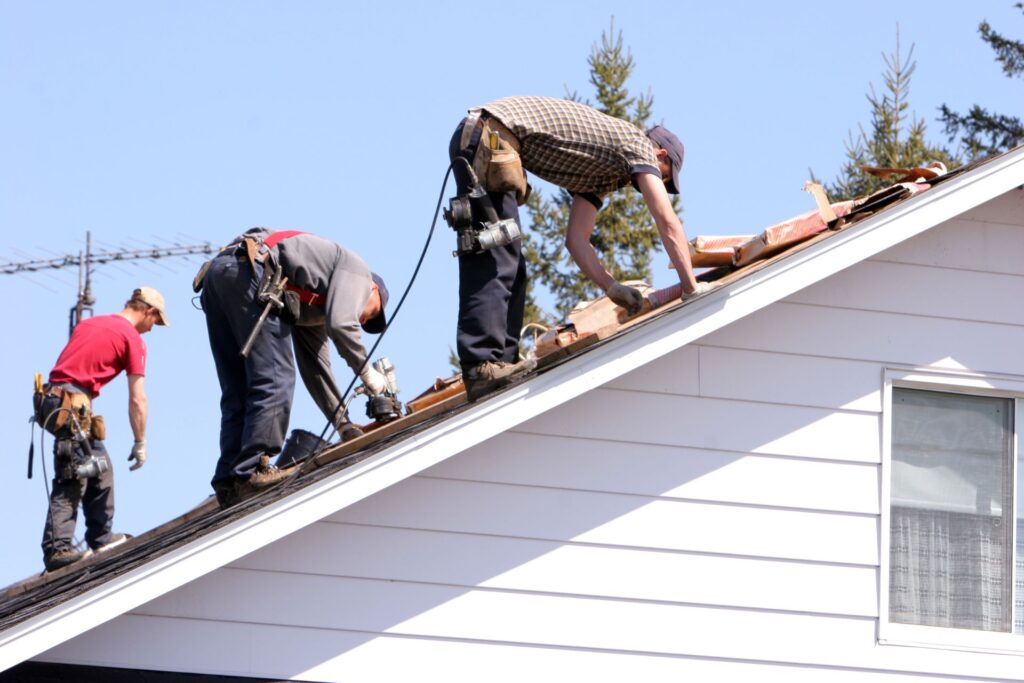
Embarking on a roofing project in the beautiful landscapes of New Zealand can be both an exciting and daunting endeavor. With its unique climate and picturesque settings, ensuring that your roofing installation is executed flawlessly is crucial. In this comprehensive guide, we delve deep into the installation process, providing you with a step-by-step journey through each phase of your project. Our focus here is to arm you with knowledge, demystify the complex aspects, and ensure your roofing installation is as smooth and efficient as possible.
Day-by-Day Breakdown
A roofing project, while seemingly straightforward, involves a myriad of tasks and stages that need to be meticulously planned and executed. Here, we lay out a hypothetical timeline for a standard roofing project in New Zealand, giving you a bird’s eye view of what to expect each day. This timeline is designed to help homeowners, project managers, and contractors align their expectations and prepare for the journey ahead.
Day 1: Preparation and Safety Measures
The first day is all about setting the stage for a successful installation. It involves preparing the site, ensuring all safety measures are in place, and double-checking that all necessary materials and tools are on hand.
Day 2-4: Removal of the Old Roof
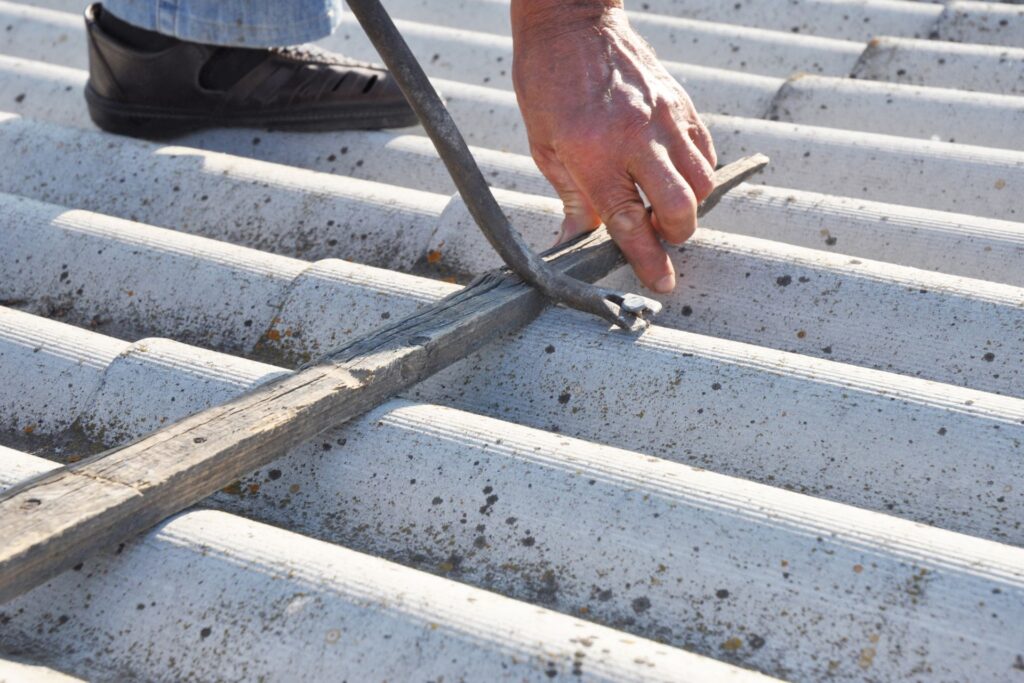
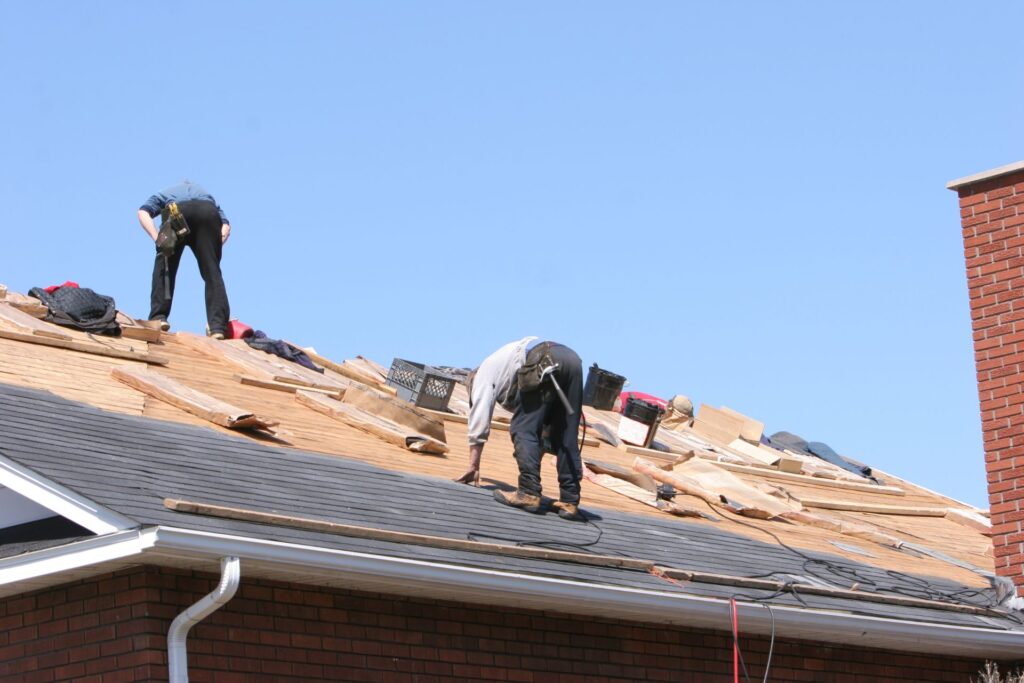
The next few days are dedicated to removing the existing roof. This phase is critical and must be done with care to avoid damage to the structure underneath.
Day 5-7: Installation of the New Roof
With the old roof out of the way, the installation of the new roof begins. Depending on the complexity and size of the roof, this could take several days. Each day ends with a cleanup to keep the site safe and manageable.
Day 8: Final Inspection and Cleanup
The last day is reserved for a thorough inspection of the newly installed roof, ensuring it meets all the standards and requirements. A final cleanup is performed, and the site is prepared for handover.
Unexpected Delays and How to Handle Them
Even with the best planning, unexpected delays can occur. Common issues in New Zealand include sudden weather changes, material delivery delays, and unforeseen structural challenges. Here, we explore these potential setbacks and provide practical tips for minimizing their impact.
Weather-Related Delays
New Zealand’s weather can be unpredictable. To mitigate weather-related delays, closely monitor weather forecasts and plan your project timeline with potential weather disruptions in mind.
Material Delivery Issues
Ensure all materials are ordered well in advance and confirm delivery dates with suppliers. Having a backup supplier for critical materials can also save precious time.
Structural Surprises
Sometimes, the removal of the old roof can reveal structural issues that were not visible initially. To handle this, have a contingency plan and budget for unexpected repairs. Quick decision-making and flexibility in dealing with these surprises can significantly reduce delays.
A roofing project in New Zealand requires careful planning, attention to detail, and the ability to adapt to unforeseen challenges. By understanding the detailed installation process and preparing for potential delays, you can ensure your roofing project is completed efficiently and effectively. Remember, every day brings you one step closer to enjoying your new, sturdy roof that not only protects your home but also enhances its aesthetic appeal in the stunning Kiwi landscape.
Post-Installation: What Comes Next?
After the installation of your new roof, it’s crucial to understand the steps that ensure its longevity and optimal performance. This section delves into the critical post-installation processes, including final inspections, approvals, and essential maintenance tips. These steps are not just formalities but are pivotal in safeguarding your investment and ensuring your new roof stands the test of time and weather.
Final Inspections and Approvals
Once your new roof is installed, the next vital step is to have it inspected and approved by local building authorities. This phase is crucial for several reasons. Firstly, it ensures that your roof complies with all local building codes and standards, which is essential for your safety and the structural integrity of your home. Secondly, it’s often a necessary step to validate warranties from your roofing manufacturer and installer.
The process involves a thorough inspection by a certified inspector, who will examine various aspects of your new roof, including the quality of materials used, the adherence to installation standards, and the proper implementation of ventilation and insulation systems. If any issues are identified, they need to be addressed promptly to ensure compliance and safety.
It’s important to coordinate with your roofing contractor to understand the specific requirements in your area and to ensure all necessary documentation is prepared and submitted. Completing this process successfully not only secures the legal and safety aspects but also provides peace of mind that your new roof is up to par.
Maintenance Tips for Your New Roof
Maintaining your new roof is paramount to prolonging its lifespan and maintaining its effectiveness in protecting your home. Here are some basic yet essential maintenance tips:
1. Regular Inspections: Twice a year (preferably in the spring and fall), inspect your roof for any signs of damage, such as cracked, missing, or loose shingles. Also, look for signs of wear around roof fixtures and chimneys. Early detection of potential issues can prevent significant damage and costly repairs.
2. Clean Gutters and Downspouts: Ensure your gutters and downspouts are free from debris, such as leaves and branches. Clogged gutters can lead to water back-up, which can damage your roof, siding, and even the foundation of your house.
3. Trim Overhanging Branches: Tree branches that hang over your roof can scrape against roofing materials and deposit debris. In severe weather, branches can break and cause damage. Keeping trees trimmed can mitigate these risks.
4. Prevent Ice Dams: In colder climates, prevent ice dams by ensuring your attic is well insulated and ventilated. Ice dams can form when heat escapes from your attic, melting snow on your roof, which then refreezes at the edges, potentially causing water to back up under your shingles.
5. Professional Maintenance: Besides personal inspections and maintenance, having your roof checked by a professional at least once every few years can catch issues that might be missed otherwise. Professionals can offer comprehensive inspections, including checking for internal leaks that aren’t visible from the outside.
By adhering to these maintenance tips, you can significantly extend the life of your new roof and ensure it continues to protect your home effectively. Remember, a little maintenance goes a long way in preventing future headaches and expenses.
In conclusion, the post-installation phase of your new roof is as crucial as the installation itself. Ensuring that your roof passes final inspections and adhering to regular maintenance practices are key steps in protecting your investment. By following these guidelines, you can enjoy the peace of mind that comes with knowing your home is well-protected for years to come.
FAQs: About Roofing Timelines In New Zealand
How long does a standard roofing project take in New Zealand?
A typical roofing project in New Zealand can vary significantly in duration, generally ranging from a few days to several weeks. This timeline can be influenced by factors such as the size and complexity of the roof, weather conditions, and the type of roofing materials used.
What are the most common roofing materials used in New Zealand, and how do they affect the project timeline?
Popular roofing materials in New Zealand include long-run steel, tiles, and shingles. Long-run steel is often quicker to install, while tiles and shingles may require a longer installation period due to their individual placement and fixing requirements.
How does the weather affect roofing projects in New Zealand?
New Zealand’s diverse climate means that weather can significantly impact roofing projects. Rain, high winds, and extreme temperatures can delay the start and progress of roofing work. Planning roofing projects during more stable weather seasons is advisable when possible.
What steps can I take to prepare for my roofing project?
Preparation steps include choosing the right roofing contractor, understanding the required permits and regulations, and discussing a realistic project timeline with your contractor. Ensuring clear communication and setting expectations upfront can help streamline the process.
How do I choose the right roofing contractor?
Select a roofing contractor with a strong reputation, proper licensing, and insurance. Ask for references, read reviews, and ensure they have experience with the type of roofing material and project scope you’re considering.
Are there any permits or regulations I should be aware of before starting a roofing project in NZ?
Yes, some roofing projects may require building permits, especially if structural changes are involved. It’s important to check with your local council or engage a professional who can advise on the specific regulations and permits required for your project.
Can unexpected delays affect my roofing project? If so, how?
Unexpected delays can occur due to adverse weather, material delivery delays, or unexpected structural issues discovered during the project. These factors can extend the project timeline, so it’s wise to factor in some buffer time when planning.
What is involved in the day-by-day breakdown of a roofing project?
A standard roofing project may start with the removal of the old roof, followed by structural inspections or repairs, installation of new roofing materials, and finishing touches like gutters and flashings. Each phase’s duration can vary based on the project’s specifics.
What maintenance is recommended after installing a new roof?
Regular maintenance includes inspecting your roof for damage, keeping gutters clean, and removing debris or overhanging branches that could pose a risk. Annual inspections by a professional can help identify and address any issues early on.
How can I ensure my roofing project stays on schedule?
Communicate regularly with your contractor, make timely decisions, and prepare for possible delays by planning your project during less volatile weather seasons. Understanding the factors that can affect the timeline allows you to set realistic expectations and mitigate potential delays.
Conclusion
In wrapping up our insightful journey, it’s essential to highlight the paramount importance of meticulous planning, the invaluable expertise of professional contractors, and the undeniable benefit of prioritizing high-quality materials and workmanship. These core principles serve as the bedrock for success in any venture. A well-crafted plan lays the foundation for a smooth process, while collaboration with seasoned professionals ensures precision and excellence in execution. Emphasizing durability and quality over expedience not only enhances the longevity of the project but also ensures sustainable outcomes. As we conclude, let this post be a beacon, guiding your steps towards achieving not just immediate goals but cultivating a legacy of quality and integrity. Embrace these insights as you navigate your path, and remember, the journey toward excellence is a marathon, not a sprint, enriched by thoughtful planning, expert collaboration, and an unwavering commitment to quality.
About the Author:
Mike Veail is a recognized digital marketing expert with over 6 years of experience in helping tradespeople and small businesses thrive online. A former quantity surveyor, Mike combines deep industry knowledge with hands-on expertise in SEO and Google Ads. His marketing strategies are tailored to the specific needs of the trades sector, helping businesses increase visibility and generate more leads through proven, ethical methods.
Mike has successfully partnered with numerous companies, establishing a track record of delivering measurable results. His work has been featured across various platforms that showcase his expertise in lead generation and online marketing for the trades sector.
Learn more about Mike's experience and services at https://theleadguy.online or follow him on social media:


